
I figured that the best thing to recycle a "Green" t-shirt into was a reusable tote bag, and I set out to create one without using a pattern. I had one baby nap to do this in and didn't have the patience for printing, cutting, reading, etc.
 |
| BEFORE! I definitely wanted to keep the panda, because he's absolutely adorable! |
 |
| Step 1: Cut off the bottom of the shirt... I cut it off at the bottom of the words, making sure to keep some space below the words and above the panda for seams, etc. |
 |
| Step 2: Cut the sleeves off at an angle. You can also just do a straight line up and down your bag, but what fun would that be? |
 |
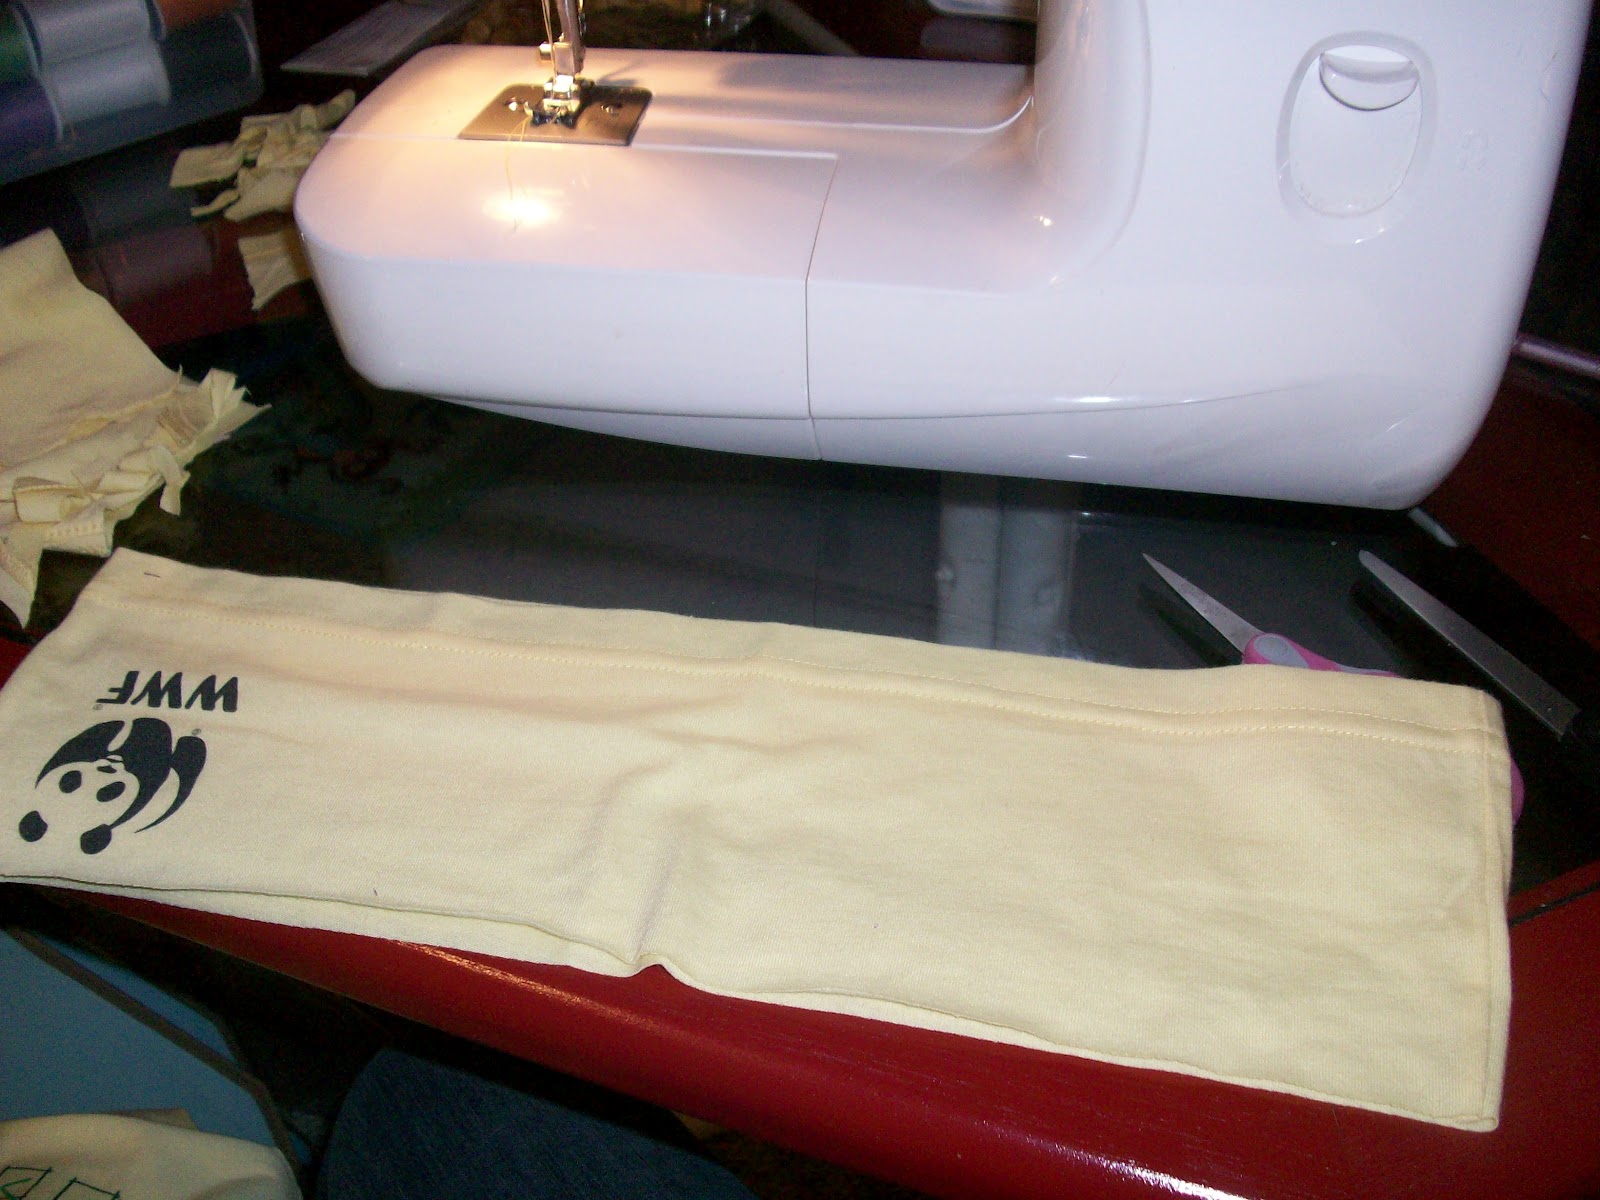
| Step 3: Cut across the top of the shirt to the length you'd like your bag to be. Again, I cut above the words so they'd be included on the bag. I didn't want to go any higher because then the opening in the bag would be really small. |
 |
| Step 4: Defy logic. With the shirt right-side-out (RSO), sew a straight seam across the bottom. Do this at both of the "sleeve" openings, too. |
 |
| Step 5: Turn your shirt inside out. Where you sewed your straight seams at the sleeves and bottom, sew a zig-zag seam. Make sure you are sewing in far enough so that your seam from step 4 will be hidden when your shirt is RSO again. |
 |
| Step 6: You can skip this if you want, but I wanted to add a pocket to my bag. I took the sleeves, and cut the seam (the one that goes up the underside of your arm) out so the sleeves lay flat. Then, trim the excess fabric. (Please ignore the fact that it looks like a pair of underpants.) |
 |
| Step 7: With the sleeve "pocket" RSO, sew a straight seam along the "sides" and "bottom." Since this is a half circle, there aren't really "sides," but you know what I'm trying to say! Step 8 (Not pictured): Turn your sleeve "pocket" inside out and zig-zag stitch, like you did in Step 5. Again, be sure that you are sewing in far enough that your raw edges won't be seen when you turn your sleeve pocket RSO. |
 |
| Step 9: Because 1 pocket just isn't enough, I made my pocket a 2-part pocket. This is easy. Just sew straight down the middle of your pocket (RSO!) with a straight stitch. Or, instead of sewing down the middle, figure out how wide your cell phone/ID is, and sew to fit. If the other part of the pocket is really narrow, it's OK. Lip gloss needs a pocket, too! |
 |
| My cell fits in both sides! |
 |
| Step 10: Just as you did earlier with your sleeves, take the bottom of your shirt and cut the end seams off. You will have a "front piece" and a "back piece." This will provide you with your straps! |
 |
| Step 11: Take JUST THE FRONT PIECE of the bottom, and fold it so it is inside out. Using a secure stitch (either a tight zig-zag or short straight stitch) sew one end and the un-folded edge closed. Through the open edge, turn your strap RSO. Fold the unfinished ends inside and stitch across. (I used a tight zig-zag). Step 12: Repeat "Step 11" with the back piece. This will give you two straps. Step 13 (Not pictured): attach one end of each strap to opposite ends of the bag. Sew, button, etc, however you'd like. Tie straps at top when you are finished for a quick, easy, cute T-Shirt Tote! |

BEFORE AND AFTER

SO SO SO COOL!!
ReplyDelete(and I just may have a dozen or so shirts sitting in a pile waiting for recycling inspiration to hit me. Brilliant!)
Thanks! I'm sure it would have turned out better and more structured with some interfacing... but not too bad for a quick project! Your blog is GREAT! Thanks for the comment!
Delete