Thursday, July 12, 2012

Project 16: The Bow Wristlet

I discovered this adorable wristlets at a craft show and decided to make my own. It's still a learning process, but I think I have the pattern down now! The great thing is that you can make them in many sizes... I've done smaller ones with 7 inch zippers and this one is a little larger, with a 9 inch zipper! They're relatively quick and easy!

Let's begin!

You'll need:
1/4 yard outer fabric (Minnie Mouse)
1/4 yard lining (polka dots)
Ruler
Scissors/Rotary Cutter
9" zipper in coordinating color
coordinating thread
interfacing (if your fabric is thin)

Step 1: Cut two pieces of your outer fabric, each measuring 12" by 7".

Step 2: If you need interfacing to strengthen your fabric, cut one piece for each side, slightly smaller than the outer fabric pieces. My pieces of interfacing measured about 5"x9".
Fuse interfacing to wrong side of outer fabric pieces.

Step 3: In addition to the already-cut outer pieces,
Cut THREE 12"x7" pieces of your lining (there are only 2 here because I forgot the third. Oops!)
Cut ONE 6"x3" piece of your outer fabric
Cut a 15"x4" strip of either fabric (I recommend the one with the smaller pattern)

Step 4: We'll create the strap for your wristlet. Fold the long piece in half, right sides together.
Sew a line down the raw edges. (Zig zags can be helpful, to discourage fraying.) This will give you a tube.


Turn the tube right-side-out.

Fold in half to create a loop. Determine how long the strap needs to be to comfortably fit on your wrist. Sew ends together and trim extra material.

Step 5: Creating the bow loop. Take your 6"x3" piece of outer fabric, and fold in half, hamburger style.

With right sides together, sew sides and fold. Leave the end open for turning right side out.

Not pictured: Turn your loop right-side-out. Fold in raw edges on end. Sew along bottom. Fold loop in half with the side you want on the outside of the loop on the inside. Sew ends together. Turn right-side-out.
Now your loop is ready for the bow.

Step 6: Take on piece of your lining fabric and fold over raw edges to back, sewing a hem on both long sides.
This is for your bow.

Pinch one end of the bow fabric...

...and slide into bow loop!

Step 7: Inserting the zipper. I am terrible at this and really hate it, and I don't want to advise you too much because I feel like my advice will make you screw it up. So please follow whatever tutorial you'd like for sewing zippers, if you need assistance.

For zippers, I always put the right sides of one piece of outer fabric and one piece of lining together, then put the zipper between them, and pin, sewing it all together. This will be done on both sides.

What it looks like after the zipper is in place... Outside.

Inside after zipper has been inserted.

Step 8: Pin your bow in place. I tend to put it closer to the top, just because the bottom is about to become much shorter.

Sew through ALL 5 LAYERS (bow, front and lining, back and lining), right sides out. It seems counter-intuitive, but trust me, it makes the end product look much better.

You'll end up with a pouch, like this!

Snip your corners! This will help them lay flat when you turn it inside-out.

Step 9: Turn inside out. We are going to finish our French Seams here.

You'll want to be sure to add the wrist strap in this step. Put it inside the wristlet, with the end of the loop (that you sewed earlier) in the seam of the end where the zipper will be when the wristlet is closed.

To finish the French seam, simply sew with about a 1/2" seam allowance around the interior of your wristlet. The measurement doesn't need to be exact. Just make sure that the raw edges from the previous step are going to be hidden by your seam.

Turn it right-side-out! You're done!

The first wristlet I made... I am a sucker for damask prints and hot pink.

Wristlet to match the tank-top dress I made.

Monday, May 21, 2012

Project 15: Baby Blanket

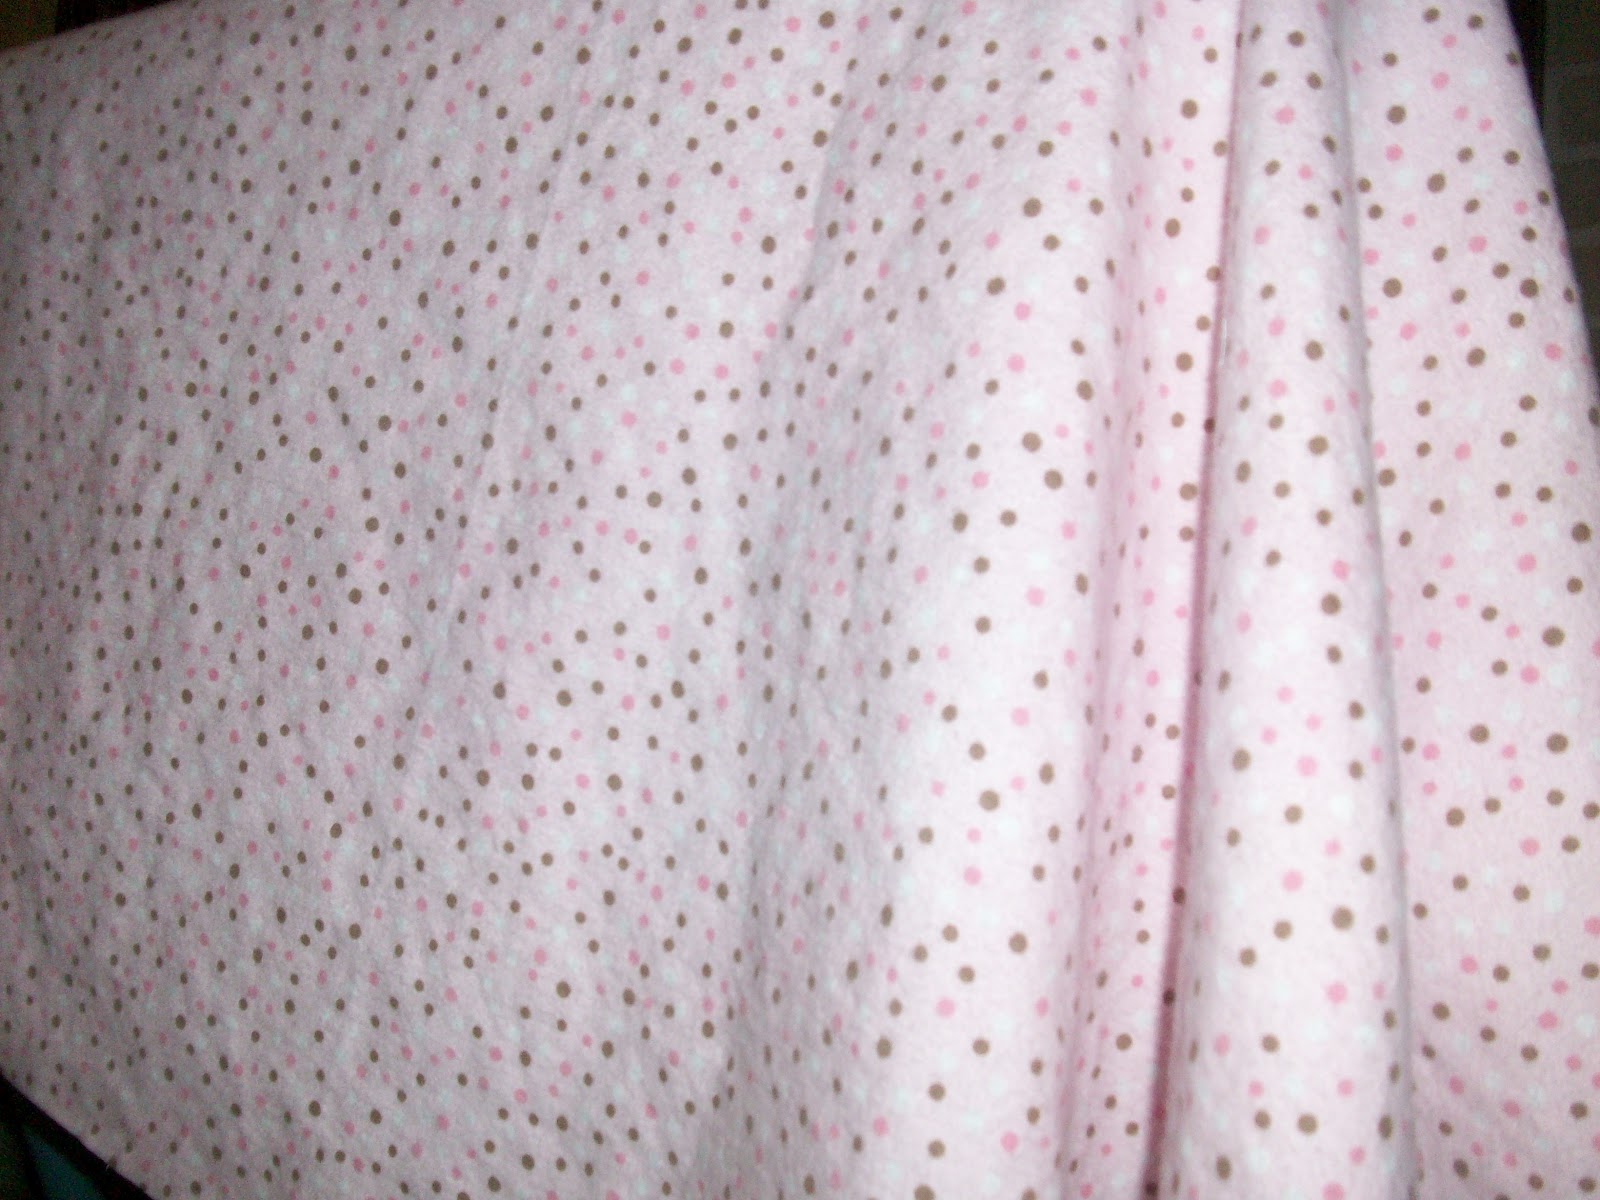
You'll need a yard of fabric... this is a light flannel material.

You'll also need an iron-on patch. I love the contrasting prints of this striped elephant with the polka dot fabric.

Step 1: Remove your iron-on patch from its backing. Place it on the fabric where you'd like it to go.
Be sure to leave some extra space for your hems!

Step 2: Following the instructions on your iron-on patch, iron the patch onto the fabric.
Every patch that I've worked with has called for a press cloth, for which I just use an old t-shirt.
I think most patches will ask you to press 10-15 seconds on one side, and another 10-15 seconds on the other.


Step 3: Fold over the sides twice to create just under a one-inch hem. Pin in place for consistency and sew.

Step 4: On each end of each side, cut a small diagonal. This will help with the next step. Don't go crazy... a small snip will do!  

Step 5: Just as you did with the sides, fold each end over twice. Pin. Sew.


Step 6 (Optional): If you want, you can reinforce your patch by hand-stitching it in place. I like this option for a baby blanket, because it will definitely get washed a lot, so sewing it will help it last longer!

Ta-Da!!! So simple, but it's a great personalized option for a baby shower or young child that you know!

Project 14: Awesome Clutch!

I'm not going to steal the tutorial from the great woman who provided it to me. That would be wrong.
Instead, I'll just post my picture so you can see that I made one, and then I'll give you a link to see the tutorial for yourself!

Check out the instructions here, then be sure to visit her Etsy shop here to buy your clutch frames! (I found some frames at JoAnn's and other craft stores, but they were $7.99 each. With the Etsy shop, I ordered 4 frames for about $5 each, and they are much sleeker.

I also used E6000 glue for the clutches. It's not the recommended glue for them, but it worked!

This project is not all that time consuming, but it does require some different materials (interfacing, fusible fleece, the glue, etc. Dry time on the glue is usually 24 hours.

I want to practice a few more clutches, and then make one that is white with a white lace overlay and an aqua interior, for brides. I think it would be awesome.

Here is my clutch:


I love this fabric and thought it would be cute to go with a red, cream, or navy dress for the summertime, especially for any weddings. (I always think of clutches as wedding bags!) Anywho... I think this clutch took me about 2 hours because I was reading all the directions very intently. Is it perfect? Nope. But did I sell it for $30? Yep! I'll post a few more pictures after I make more!

Saturday, April 7, 2012

Project 13: Happy Easter cake!

Looking for a festive dessert for an Easter gathering? This cake is simple, fun, and delicious! Just grab your favorite boxed cake mix or cake recipe, some whipped vanilla icing (I like Betty Crocker's), a Peeps Bunny, some jelly beans, and green food coloring, and you're set!

Step 1: Prepare the batter as directed. Divide between two 8" pans. I always use the springform pans (or cheesecake pans) because the cake releases a little more easily from the sides. Bake according to recipe instructions and cool.

Step 2: Level both round cakes. This will make the assembly easier.

Step 3: Add approximately 24 drops of green food coloring to make the "grass" color. You can try to make more to make it a darker shade. Mix.


Step 4: Apply a thick layer of icing over the bottom later of the cake (once the bottom layer has been placed on the plate of your choice!)


Step 5: Using a wide flipper, wax paper, or your hands, transfer the other round cake to the iced layer you already have. To ensure the top layer won't break, build up any extra space around the edges of the bottom layer with additional icing for support. Ice entire cake: top and sides.

Step 6: With some jelly beans (the Starburst Jelly Beans are good!), create a ring around the bottom of the cake. It can be continuous or it can be broken up, since not everyone will eat them. Add a few on top for an "egg hunt theme."


Step 7: The finishing touch. Take a toothpick, drinking straw, or bamboo skewer, and stab your Peep Bunny's bottom, up as far as you'd like, though I'd try to get up to his neck. Leave at least 2 inches sticking out the bottom, and insert that end into the center of the cake.
Ta da! Easter cake! Super quick and easy!
If you can find little accessories, like miniature baskets (from a dollhouse maybe?)
to put on there, even better!

HAPPY EASTER!


Friday, April 6, 2012

Project #12: Spring Bouquet

In preparation of our upcoming craft show gig, I'm trying to make a variety of items that will hopefully draw a large crowd to our table! I figure a little tray full of earrings doesn't really scream for attention.

I decided to try my hand at floral arrangements, and am pretty pleased with the prototype!


This is a VERY simple project. I used a pair of scissors, some craft/tacky glue, a ceramic vase, ribbon, a small cube of styrofoam, and some floral stems and bunches.
Total cost was $7.50 (not including the glue, scissors, and ribbon, which I already had from other projects.)

Allow me to add this comment: someone recently said to me, "Don't take this the wrong way, but I really hate people like you. I am not crafty at all!" I really wish people wouldn't say things like that! There are so many simple projects out there that are fun and easy and look WONDERFUL. This is one of those projects, so if you are looking forward to diving into your first crafty endeavor, this would be a great one to start with!

Materials:
3x3 cube of styrofoam (this size will change based on the shape and size of the vase you're using.)


Vase. I selected one that is about 8"x4" so that the flowers wouldn't overpower it. I was afraid anything smaller would have been a) overwhelmed by flowers and b) harder to work with.

Flowers! I love pink with aqua, and these were perfect for my taste! (Plus, daisies are kind of "my" flower.)


Filler flowers are important, too! I have coordinating smaller flowers and some baby stems of leaves.
The leaves were just for backup, in case the styrofoam showed. I ended up not having to use them, but I can always save them for the next time! (Spanish Moss would be great too!)


STEP 1: Style your flowers as you would like. I chose to spread mine out for more dimension and to alternate the colors a little bit more. After the bunch is styled, press it into your foam as far as possible without poking through the other side.

Step 2: Layer the bottom of your vace with tacky glue.
(Hot glue can melt the styrofoam, so I don't recommend using it or anyting like E6000. Tacky glue will work just fine!)
Insert the foam cube while glue is still wet. By inserting the cube now, you'll be able to see where to put the other, smaller stems.


Step 3: Separate smaller pieces from your filler bunch. You can use wire cutter to trim them at their individual bases. If you don't have wire cutters, like I don't, you can bed the stem back and forth until the wire breaks itself, then use your scissors to cut through the coating. Then you can fluff/style the smaller bushels as well.


Step 4: One by one, insert the smaller bushels into the foam core in the vase.
Be sure to fill in any holes or gaps, especially those where the styrofoam might be visible through the petals.
Since the stems are wire, they should go easily into the foam.

Ta-Da! Take a moment to pat yourself on the back and admire your project!
You can certainly end here, if your vase or flower pot is colorful, or if you like the single color.
However, that's not my style. I like LOUD and bright!

My vase needed something more.
Step 5: Feel free to use the tacky glue again to add a ribon trim at the top, the bottom, or anywhere in between.
Hot glue SHOULD also work here, but since it has a more extreme texture, I prefer to use the tacky glue.
 It's completely your choice!

Finally, Step 6: Add any other trim you'd like to the project! I chose an accent trim, since the first ribbon was so wide. You can add buttons, twine, whatever you'd like! Just make it unique and special to you!


I hope you enjoyed the tutorial and are able to create something you love! This is such a great, simple, quick project that you can do for each season (or, if you'd like, each holiday!)

I hope to do another soon with a black vase and a peacock feather, with some other teal and plum colored flowers, though I worry it will be a little too dark. I'll be sure to post though, if I end up doing it!

I'd love for you to share your finished products with me so I can see them!